How to Blend With Markers the Right Way
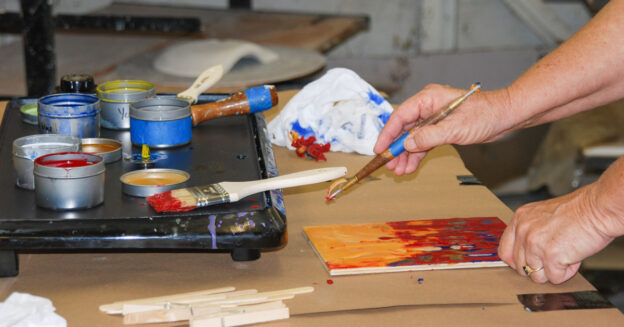
Did you know there’s a technique for using alcohol markers and blenders that can transform how you work? Alcohol ink markers can be a bit tricky to use, as they dry fast and are pretty much permanent. Plus, if you’re not careful, the colors can bleed or create unwanted streaking. In particular, it’s challenging to blend and create smooth gradations. For these reasons, I’ve shied away from markers, but I’ve always been curious about using them. There are some amazing works created with markers and, with the right coach and some practice, I know it’s possible to overcome these challenges. To help, I connected with Mot Tuman, resident artist for Jerry’s Artarama, who showed me how to blend with markers the right way.
What Are Alcohol Ink Markers?
Alcohol ink markers are premium-quality artist markers that are ideal for design and illustrations. They’re essentially a combination of a colorant and alcohol medium dispensed via two flexible nylon tips—a brush tip intended for gestural strokes and a chisel nib for precise lines. Depending on how you hold the marker, you can create thin, medium or bold lines. The markers work exceptionally well on paper designed for them, and they’re the perfect go-to tools for professional artists and hobbyists alike who want rich, vibrant colors.
Blending With Markers
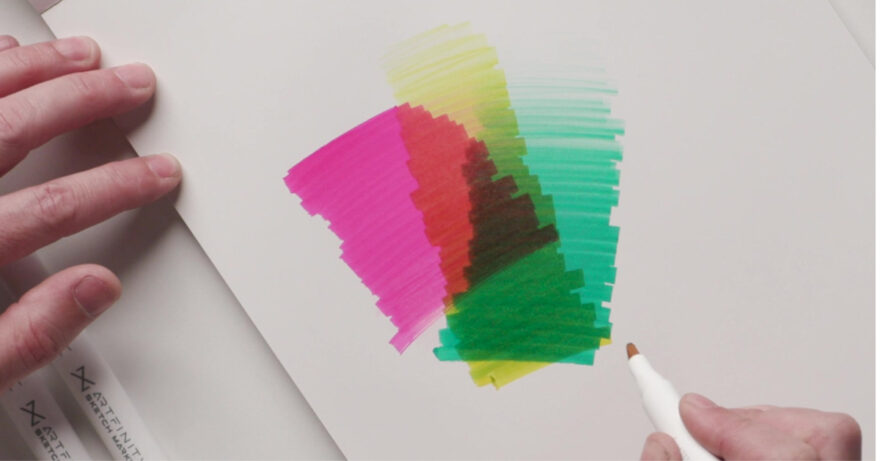
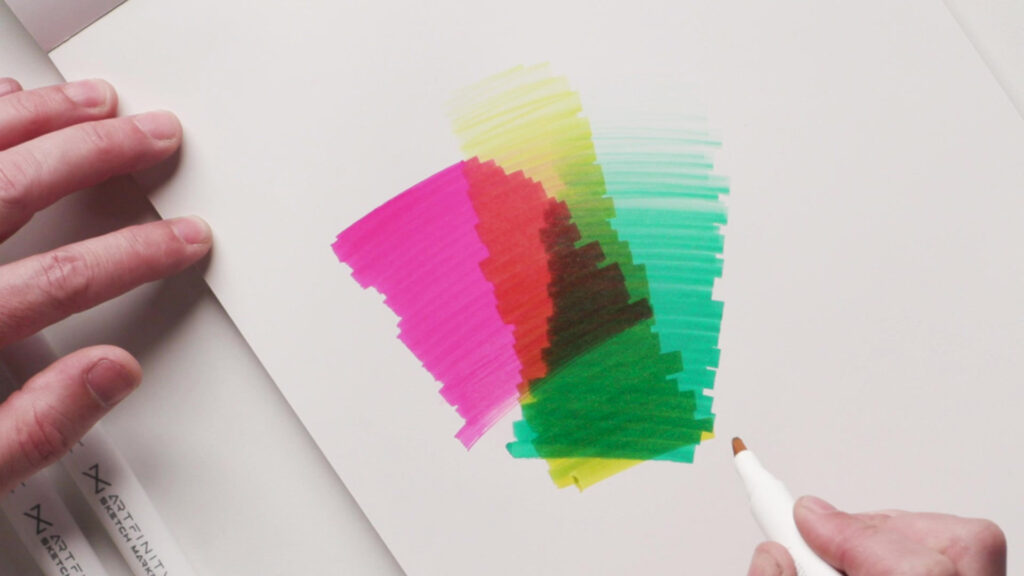
Among all the color options available, you’ll find a “colorless blender,” a marker containing just the alcohol medium and no colorant. This blender can help soften marks by diluting the colorants of other markers, but it’s challenging to work with on existing marks. In most other media like charcoal, graphite or oil, blending comes after the marks have been laid down. What Mot demonstrated is a cool trick in which much of the work happens before you even put the marker to paper! By loading up the marker tip with pure alcohol ink, it’s temporarily diluted, allowing for marks that are initially light but that gradually darken as marks are made. Fascinating!
Watch this short video, where Mot explains the process. It’s something that’s best described by seeing it yourself.
This technique offers several benefits and reasons why artists might want to try it:
✓
Enhanced Blending: By using the colorless blender this way, artists can achieve even smoother and more seamless blends between colors. This technique opens up possibilities for creating nuanced shading and achieving a sense of depth in artwork.
✓
Greater Control: The method of loading the tip of the colored marker with pure alcohol provides artists with more control over the blending process. This level of control enables artists to create precisely tailored gradients and ensures a harmonious flow of colors in their artwork.
✓
Versatility: This technique is applicable to various styles and subjects and opens the door to experimenting with colors and effects.
✓
Skill Development: Techniques like this encourage innovation and experimentation with materials. Experimenting is essential for artistic growth!
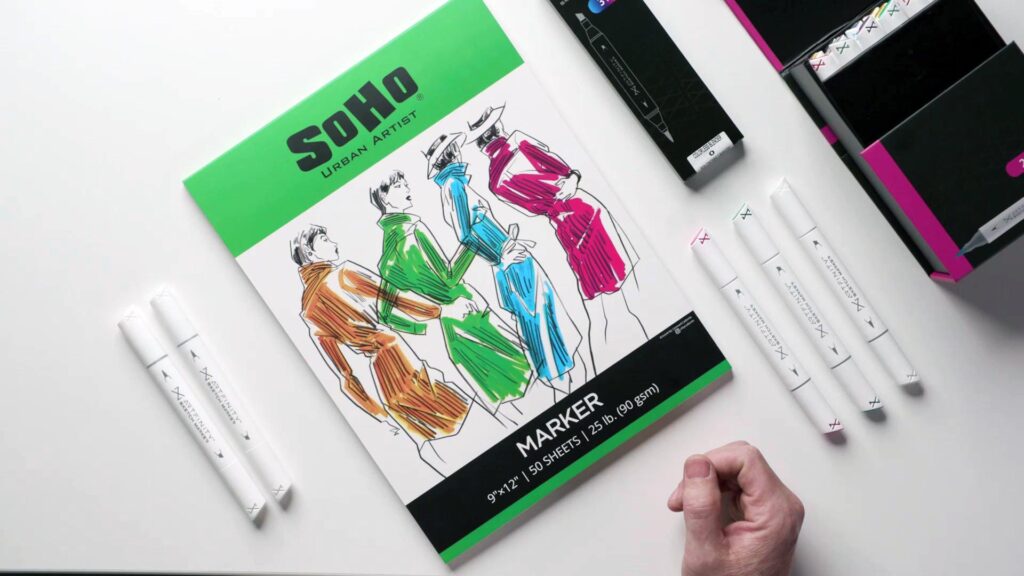
Artist Toolkit
Here are the materials Mot used to show me this technique. Find these products and more at Jerry’sArtarama.com!
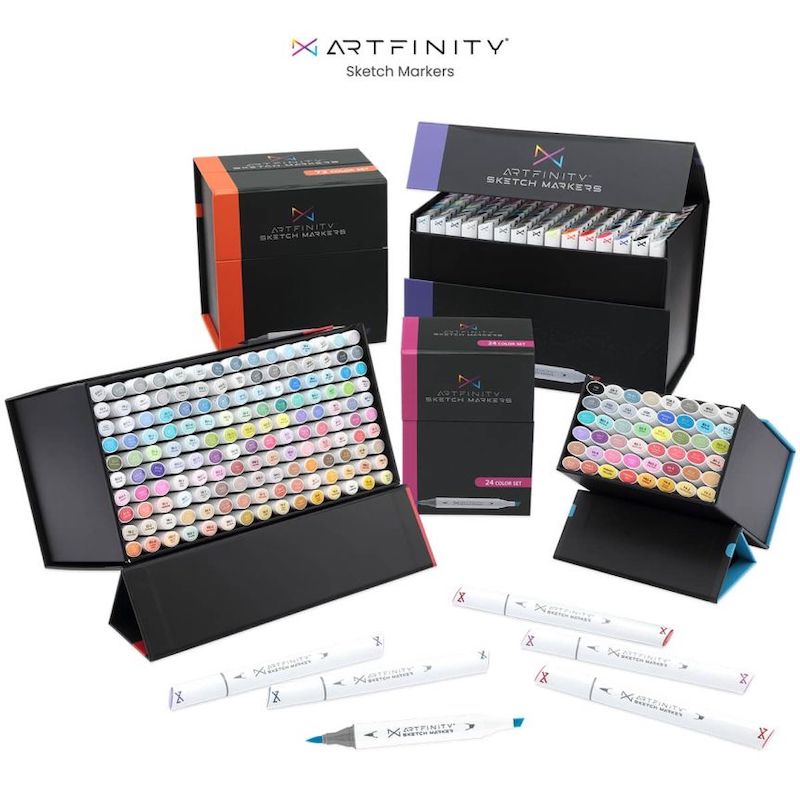
Artfinity Sketch Markers
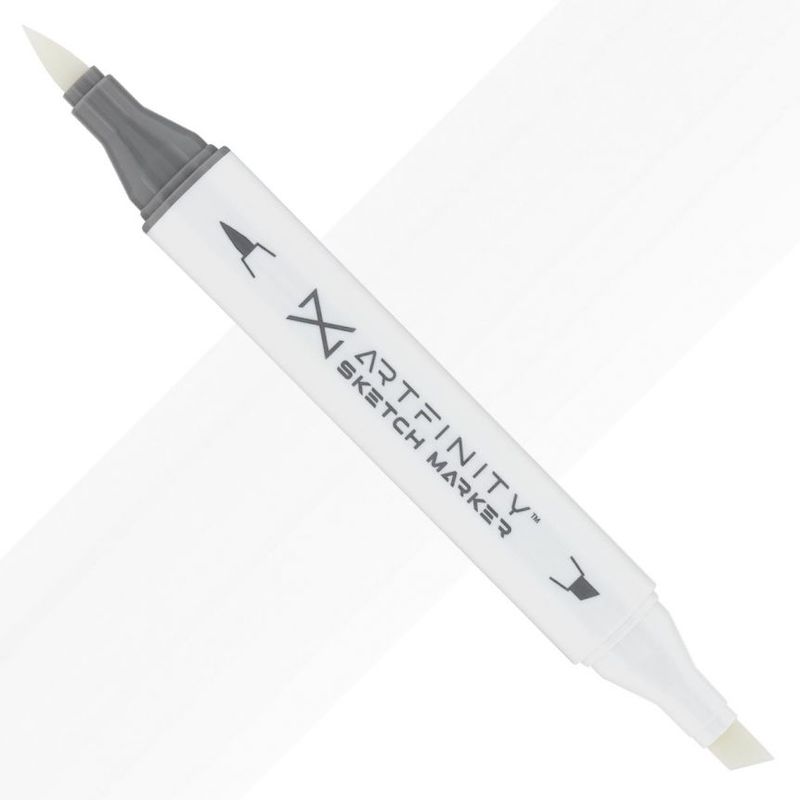
Artfinity Colorless Blender
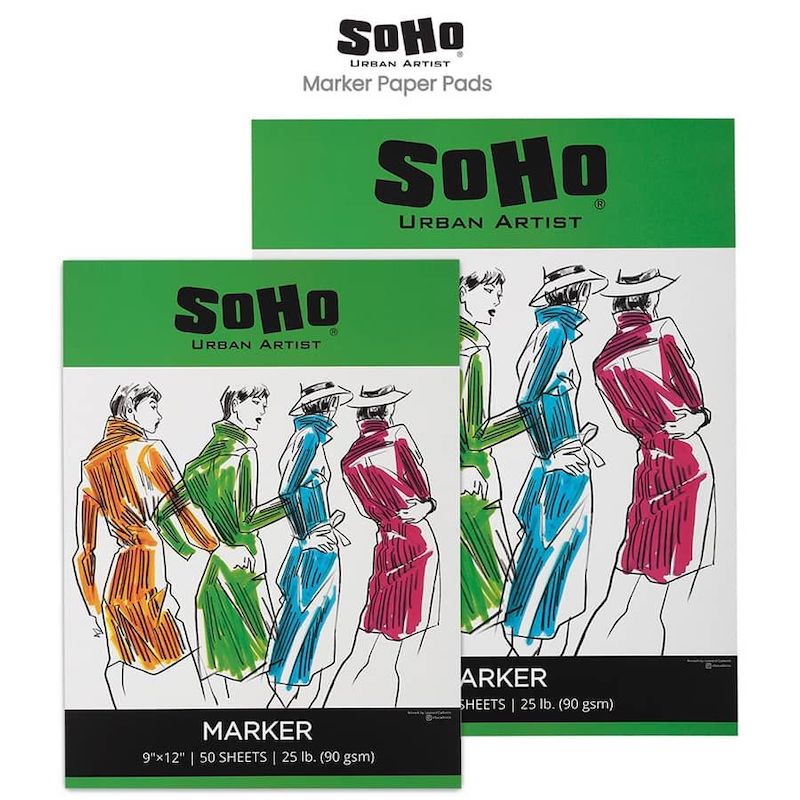
SoHo Marker Paper Pads
It’s Your Turn!
So go ahead and experiment; you might be surprised by what you can do with alcohol markers! If you’re practicing on your own, here are five tips:
1
Plan ahead. These markers dry quickly and permanently, so have a plan in mind. You might practice on a separate sheet of paper before applying marks to a finished work.
2
Watch your nibs. As you press the colorless blender into the tip of your colored marker, the tip of the colored marker should start to turn light. Look closely to ensure it’s doing so evenly.
3
Work quickly. Alcohol evaporates rather quickly, so make your marks right away.
4
Control yourself. Practice maintaining an even pressure and pace with your marks. Faster marks will allow you to extend the gradient across a larger area, but you might sacrifice control and precision. An uneven pressure will also affect the quality of the gradation.
5
Play with transparency. The translucency and color intensity of these markers offer a unique opportunity to layer color and explore translucent effects.
Meet the Artist
Mot Tuman is a watercolorist and the current Resident Artist for Jerry’s Artarama. They graduated from NC state university with a degree in Art and Design and a minor in biology, with the goal of pursuing scientific illustration. After the pandemic, Mot felt unsure about their life goals and decided to follow the path of a fine artist, working painting jobs and as a printmaker before joining Jerry’s Artarama. They still pursue their interest in the sciences with volunteer work at some of NC state’s research groups, specializing in biomechanical engineering and zoology, and hope to carry their passion for the arts and sciences throughout their career.


Join the Conversation!