Colorful Collage: Stained Paper

Explore the vibrant world of stained paper collage to infuse a sense of freshness and depth into your art.
By Brenda Swenson
Every artist encounters creative doldrums and ruts from time to time. They typically arise when we strive for guaranteed success with every piece, which may lead to a tendency to play it safe through repetition. Whether it’s in the subject matter, technique, viewpoint, perspective, lighting, or materials used, sticking to the familiar can stifle our artistic growth.
While the fear of failure is natural, creative growth often requires stepping outside our comfort zones. Taking creative risks, whether big or small, introduces challenges that propel us forward—and steer us clear of creative inertia.
I’ve found that the fastest way to break out of a rut is to take a workshop or paint with another artist who encourages new thinking and challenges or pushes you. For me, that person was artist Gerald F. Brommer (1927–2020), my longtime teacher, mentor and friend. He introduced me to a technique that opened my mind to a new way of working—stained paper collage.

Pieced Paper
The word “collage” may put some people off because they envision tearing photos from magazines and gluing them onto a poster board. Stained paper collage is far from that process, although the act of affixing materials onto a surface is similar. Stained paper collage is a more refined and artistic approach, moving beyond the conventional idea of collage as a simple cut-and-paste technique.
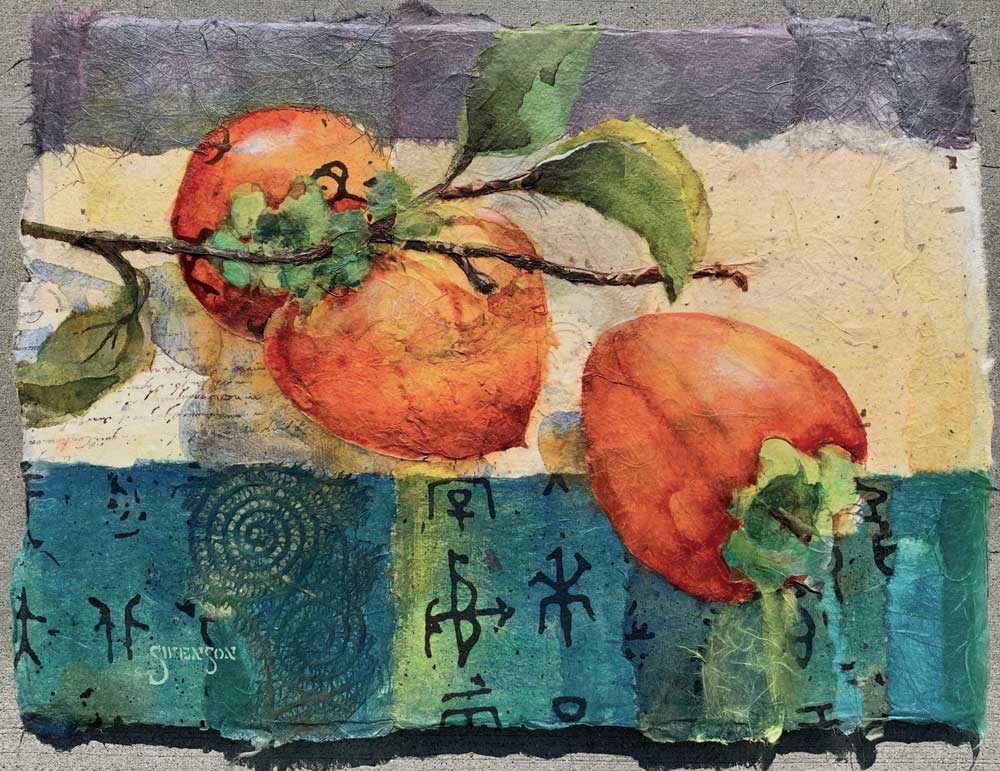
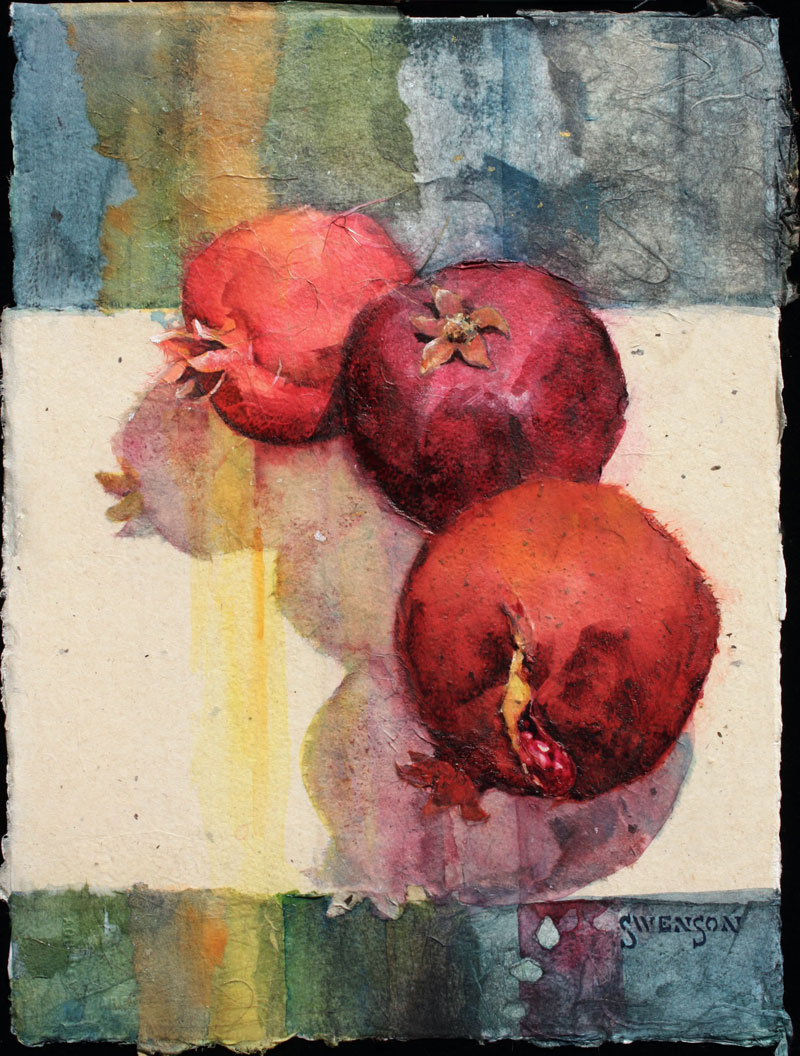
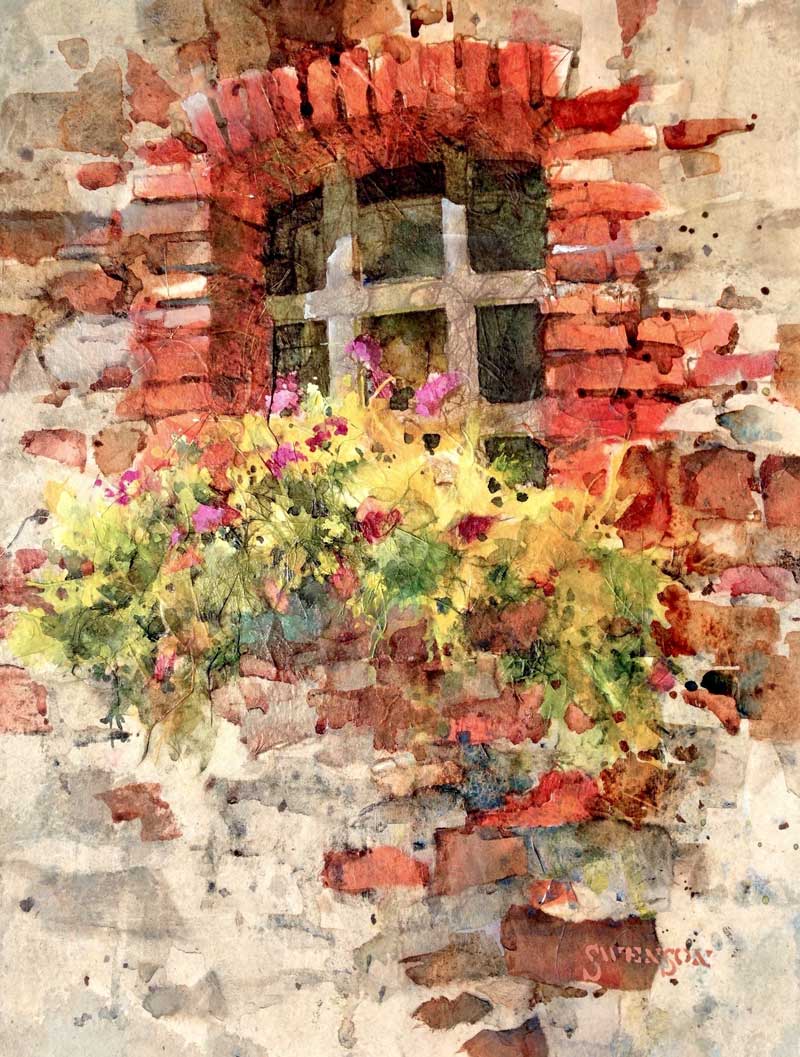
The focus is on using papers that have been altered, or “stained,” with watercolor. The dried papers are then torn and adhered to the painting surface to add a sense of depth, an interesting texture, and a unique visual quality.
While this collage process is a definite departure from my usual approach, each work is still very much a watercolor painting from start to finish. And the process definitely promotes and encourages my creativity.
I encourage you to experiment with different paper types, staining techniques and paper placement for your own stained glass collage works. The beauty of this process lies in its flexibility, so let your creativity guide you.
Paper Play
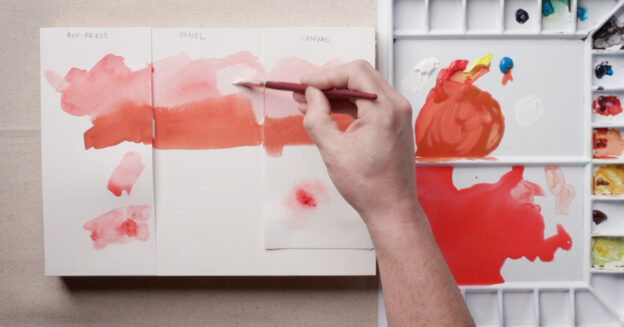
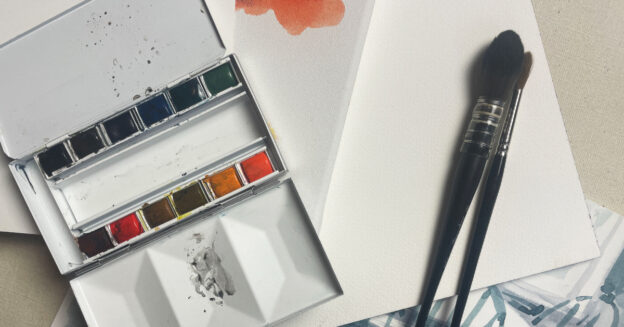
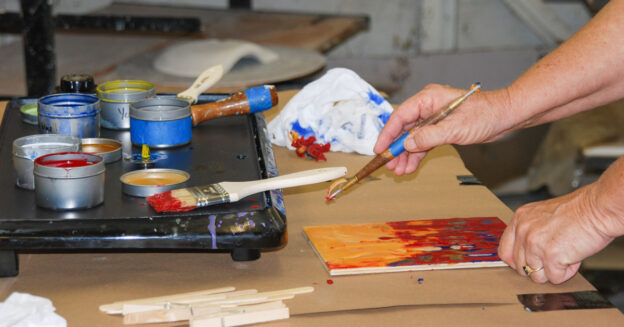
Paper Selection: I use a wide variety of papers for my collage pieces, including Japanese papers, which are not to be confused with tissue paper. They’re available in a wide range of textures and weights. Here are a few names to get you started: Okawara, Ogura Natural, Awagami Kozo Natural, Tosa Lace, Masa, and Natural Mulberry. These papers have beautiful patterns, textures, and fibers that become more prominent when painted. Some are transparent and can be layered to create new colors, much like glazing with watercolor, while others are more opaque, like gouache, and extremely absorbent.


Staining: I usually set aside an afternoon to stain enough sheets to use for multiple collages. I work with smaller sheets—about 4×9 inches each. I position each in the center of my palette and use a 1-inch flat brush to apply watercolor. I then place the stained papers on paper towels and let them dry.


This article originally appeared in the Spring 2024 issue of Watercolor Artist. Subscribe now so you don’t miss any great art demonstrations, inspiration, and articles like this one.
Collage Tips
✓
Tear the stained papers into block-in shapes that complement the painting composition.
✓
Adhere the pieces to rough-surfaced watercolor paper using matte medium and a stiff brush. Although the image may look a little crude and elementary at first, things take shape as the painting process begins.
✓
Avoid applying an excess of matte medium. The heavier Japanese papers often become darker with its application.
✓
The collaged surface won’t be absorbent, so the amount of water needed for watercolor application will be minimal.
Creating Color & Dimension
Step 1
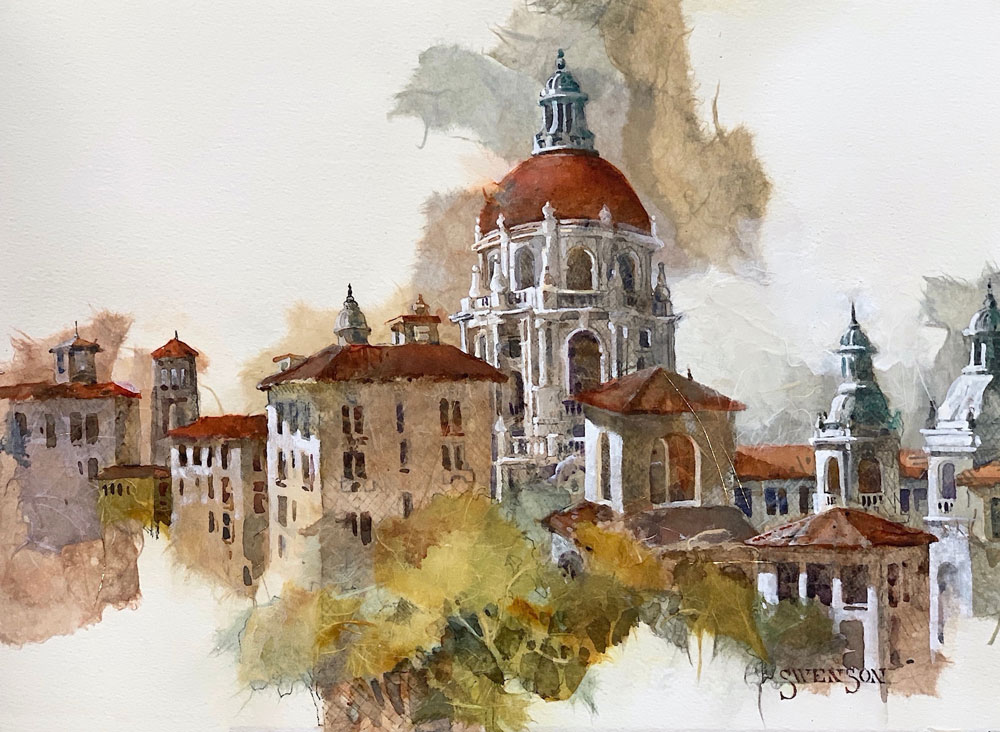
After multiple rough sketches to determine my design, I select one and draw the design on the paper using waterproof ink. I only draw the major elements to establish placement. Most of these lines will disappear under the collage.

Step 2
I begin the collage by blocking in the large sky for the desired shapes. When I need to work around a complicated shape, such as the building, I lay the stained paper on top of the drawing and use a brush loaded with clear water to draw an outline. The paper will tear in a more controlled manner along the wet line. To adhere the collage paper to the surface, I brush the section of watercolor paper with matte medium using a stiff bristle brush. I then place the stained collage paper on top and brush more matte medium on top to secure it.

Step 3
I cover the entire surface with a variety of large, medium, and small transparent and opaque pieces. The smaller pieces are used primarily around the area that I want to develop as my center of interest. I’m not concerned with details at this time.

Step 4
I unify the surface of the collage with a thin coat of matte medium diluted 50 percent with water and let it dry. I sharpen the edge of the building by darkening the tree shapes on the left, the red tile of the roof, and the form shadow on the lower building. I use a small amount of white gouache to sharpen the edges of the tower.

Final
I darken the foreground corners and define the windows and top of the tower. I lighten the trees on the left by lifting paint with a damp brush. Because I unified the surface before painting, I’m able to lift off paint and make corrections. I finish by using white gouache to suggest the steps. I also lighten the sky directly behind the tower in The Watcher (collage and watercolor on paper, 12×12).

Enjoy More Works from Brenda Swenson
About the Artist
Brenda Swenson is the author of two books—Steps to Success in Watercolor and Keeping a Watercolor Sketchbook. An active participant in the arts community and various watercolor societies, she’s 1st Vice President of the California Art Club and has served on the board of directors for the National Watercolor Society and Watercolor West. She’s also an arts juror and demonstrator and offers workshops both nationally and abroad.


Join the Conversation!